To translate a CSV file, import it into a POEditor project together with your source strings, translate them with any of the available options and export each language as a localized CSV file. Here's how to set it up.
1. Create a translation project
Log in to your POEditor account, create a new translation project and add the source language you'll be translating from.
2. Import your CSV file
Use the Import functionality in the project page to import your CSV file, with the translations in the language you created.
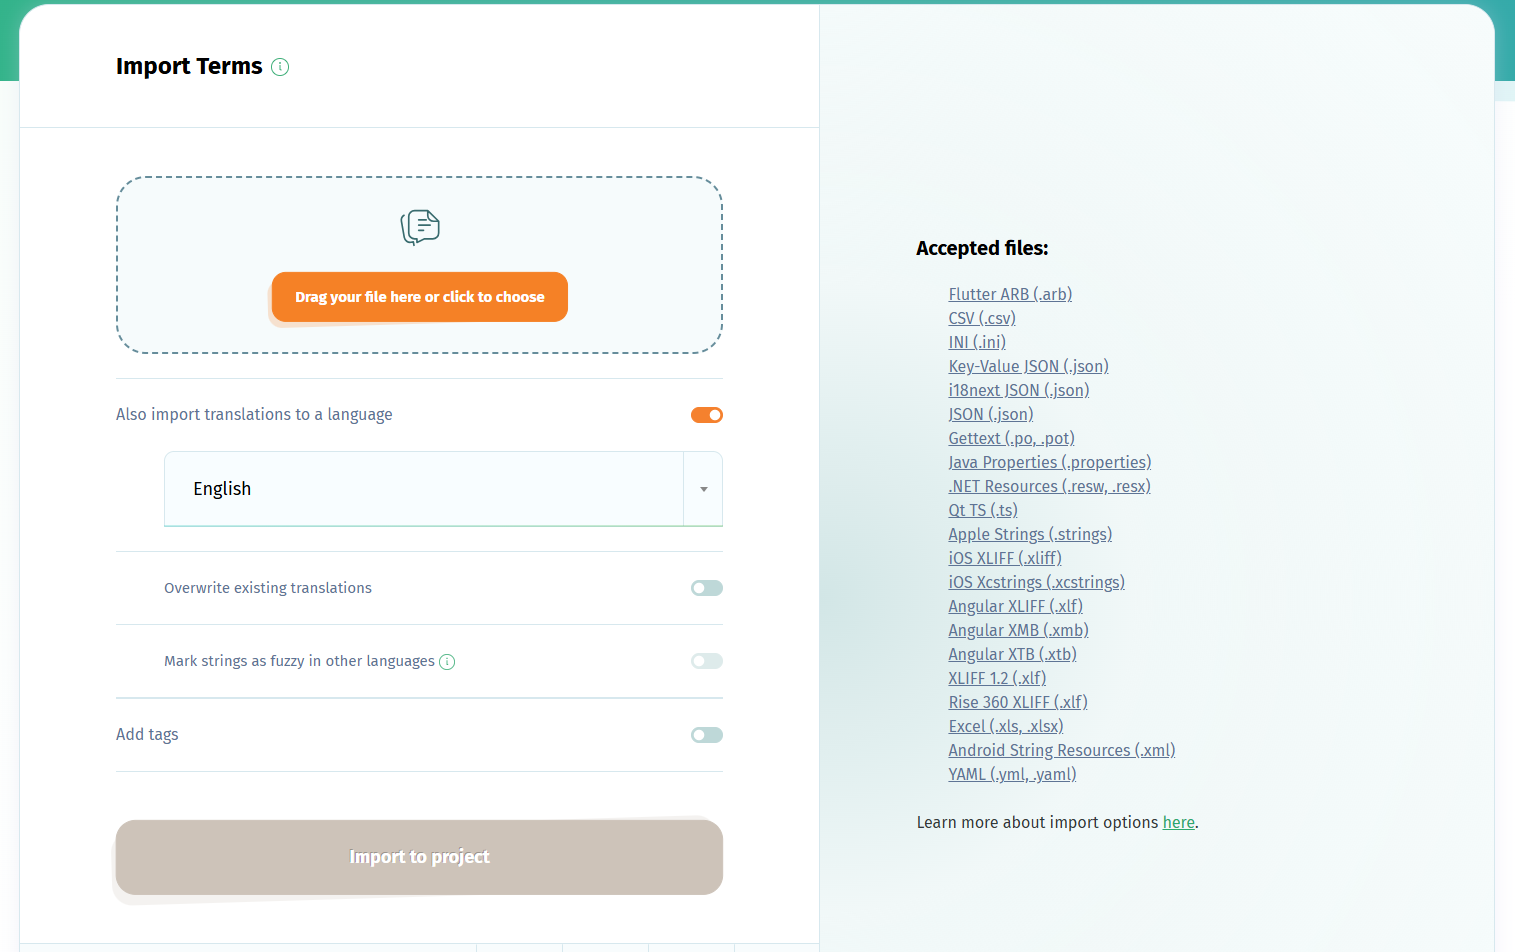
If your CSV file contains string IDs, the translations you import will be automatically suggested as Default Reference Language. You can change the DRL in the project's settings.
3. Translate into your target languages
Add the languages you want, then choose how to translate them:
- AI translation with your own OpenAI, Claude, Gemini, Azure AI or Amazon Bedrock account. You can customize the prompt to match your tone.
- Machine translation with Google Translate, DeepL or Azure AI Translator.
- Your own translators, invited as contributors to specific languages.
- Human translations, ordered from the available LSPs.
Translation memory (available from the Start plan) suggests earlier translations of identical strings, and QA checks and QE feature catch issues before export.
4. Export localized CSV file
Click Export in any translation page to download that language as a CSV file, or use one of the other export options.
If you want to automate the import/export, use the POEditor API, one of the integrations with code hosting platforms or Workflows.
Only need to edit a CSV file, not translate it? See the CSV Editor.