If you're the owner of a localization project or one of the project admins, you can add contributors (translators) to specific languages in multiple ways, described below.
In the Project Page
Go to your project's main page, and you will see next to the translation progress of each language, on the right, three buttons. To assign a contributor to a language, click on Add contributor.
You can add a new contributor by entering their email address in Add Contributor form, or you can select a contributor from the ones you've already assigned to projects on your account.
In the Contributors page
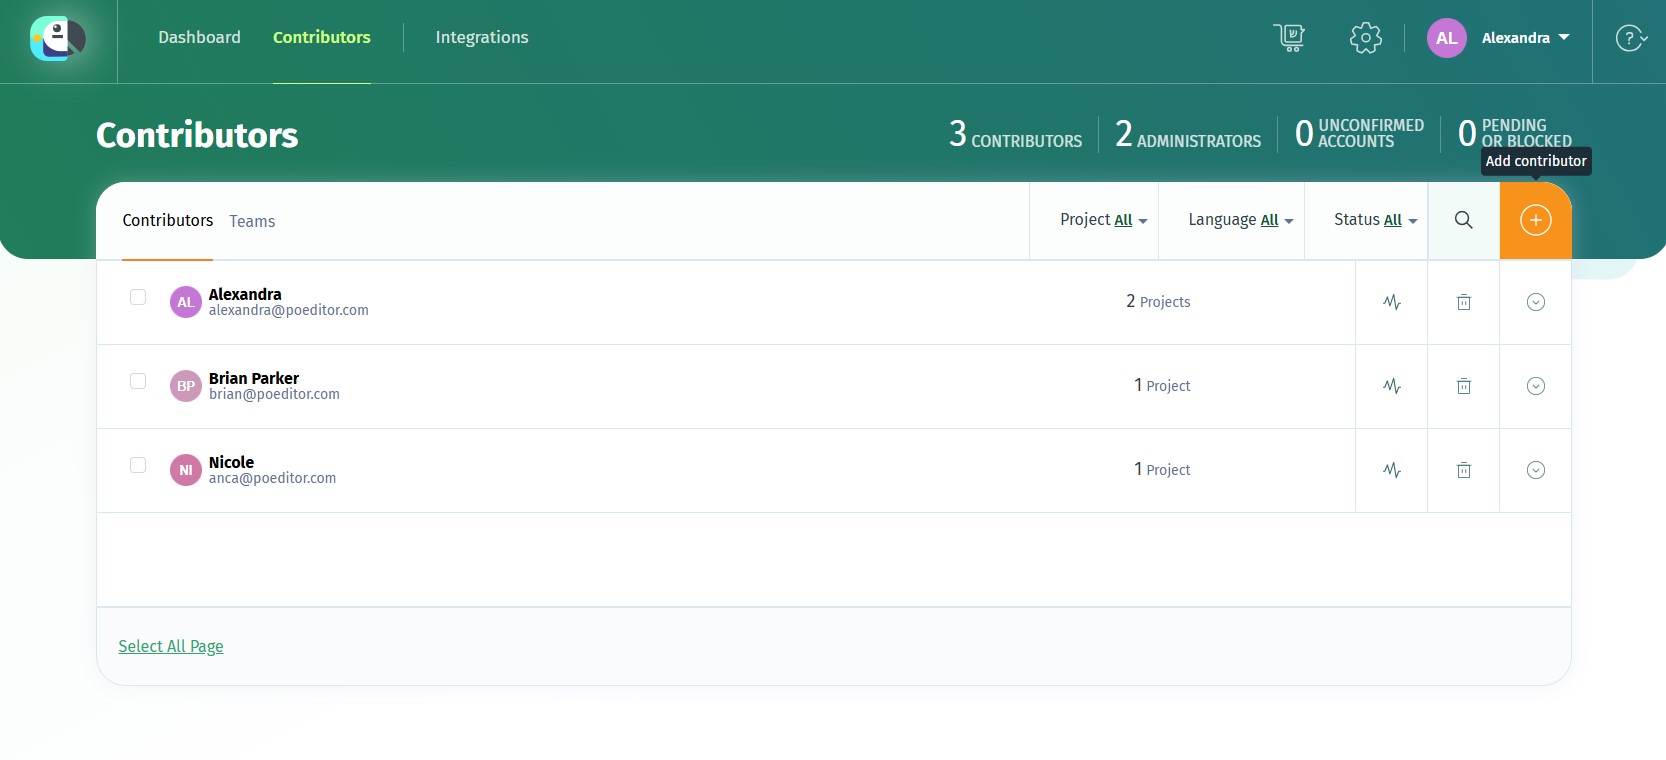
Contributors can also be added from the top Contributors page (accesible from the upper navigation bar).
You can add contributors to a language in one localization project or to all the localization projects where you have the owner or admin role.
In the project Contributors page, you can also add a contributor to a particular language after filtering by that language.
To open the Add Contributor form, you can also click on the + key (the keyboard shortcut to add a contributor).
With the API
If you want to add or remove multiple contributors at the same time, you can use the API.
How contributors are notified about being added to a language
If the translator doesn't have a POEditor account, they will receive an email to let them know you added them.
The account will be created automatically, the translator will only need to activate it by clicking on the activation link in the email.
If the translator does have a POEditor account, they will receive an email informing them that you added them, with a link to go directly to the translation page.
You can quickly assign all the contributors added to a project to a new localization project using the Copy setup from another project feature.


