This option is available starting with the Plus plan.
Integrations with Git hosting services allow you to easily transfer localization files between the localization projects hosted in your POEditor account or organization and your repositories.
To get started, you'll need to access the Integrations section in the navigation bar and connect POEditor to your code hosting platform of choice.
Linking files in your repos to your POEditor languages
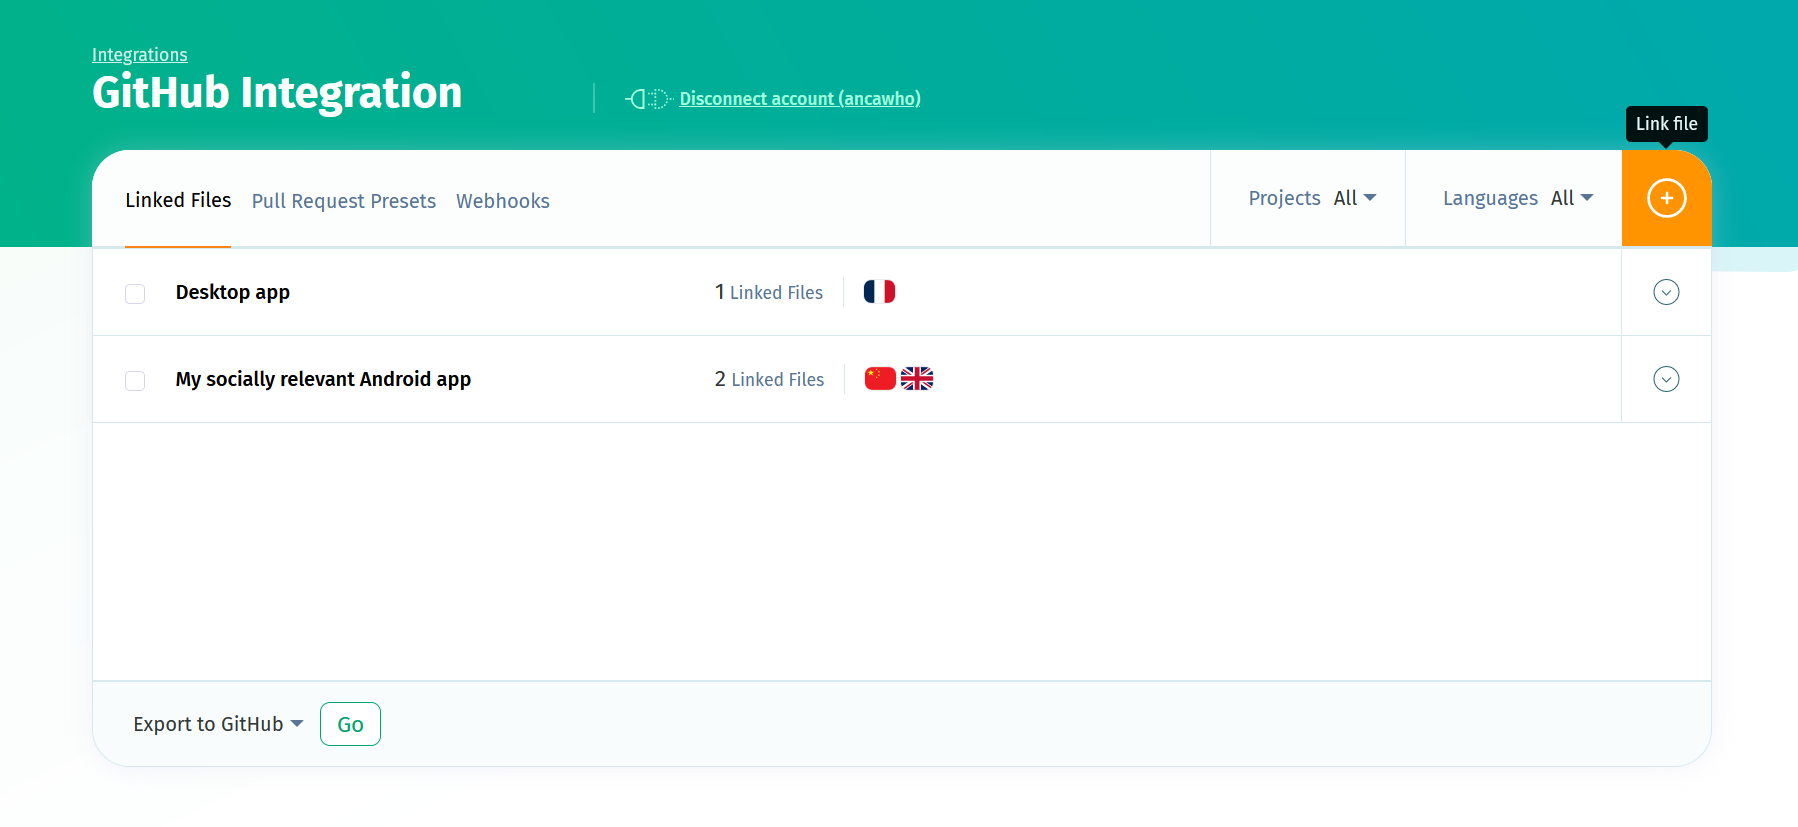
In the integration page, select a localization project in your POEditor account and a language in that project, then click on the Link file button. Then select a repo, a branch and the file you want to link and click on Link to file in repo. Repeat the process above to link the other languages in your POEditor project with their corresponding language files in your repo.
Importing and exporting strings
To import strings to your project, you have the following options:
Import terms - Uploads your terms from the file to the selected POEditor language.
Import terms and translations - Uploads your terms and the corresponding translations from the file to the selected POEditor language.
Import translations - Adds translations from your file to the language in your POEditor project. Note that you can import translations only after having imported terms.
If your terms are labels (keys/string IDs), you can use the Import terms and translations option to bring both the keys and the source language to the project in one go. After doing so, set this language as Default Reference Language in the project's Settings.
To keep track of an import, click on Settings (next to Export) and Import rules. You can tag the imported terms (All, New, Obsolete or With changed translations) with one or more tags of your choice. Tags can be used to filter strings during translation and/or on export.
To download strings (both terms and translations) from a certain language in your POEditor project to the files on your repo, simply click on the Export button corresponding to the language.
To export just specific groups of strings, use the Export rules option in the link's Settings.
You can use the options at the bottom of the page to perform bulk actions for multiple languages at a time.
Giving access to localization project admins
Although only the project owner can set up the integration with a code hosting platform, the actual file management can also be done by the admins assigned to the localization project.
After the owner sets up the links between the files on GitHub/GitLab/Azure Devops/Bitbucket and the languages in the l10n project, they can give admins access to the integration from the projects's settings, by enabling the option Admins Can Access Integrations.
Webhooks for third-party user management
Since the integrations with code hosting platforms are made at an account level and, because of privacy reasons, can be managed only by the account owner, webhooks are (also) a good solution if you want to allow another person (a POEditor user or not) to manage data between POEditor and your repos.
When the webhook is triggered, the assigned languages/projects on POEditor receive data from the file on the repo that is connected to it, or the other way around.
Each integration page has its own webhook generator.
With webhooks, you can import/export terms and/or translations and also automatically sync the terms whenever you make changes in your repos. The sync operation brings terms and translations from the file on your repo to the linked language at POEditor. It also deletes any obsolete terms in the POEditor project (terms which appear in the project but don't exist in the file).
How your webhook behaves is determined by how you set it up in the integration page, in the Settings of each linked language.


