This option is available starting with the Plus plan.
Workflows are chained processes that run on autopilot once launched. This can happen manually, on schedule (daily or weekly) or when an event occurs in your localization project.
Who can add a workflow to a project
To apply a workflow template to a localization project, you need to have one of these roles:
- project owner (personal account or organization owner/manager)
- project admin
Some workflow steps (AI translation, Git import/export) require an integration to work. Project administrators can add these workflows only after the project owner sets up the corresponding integration.
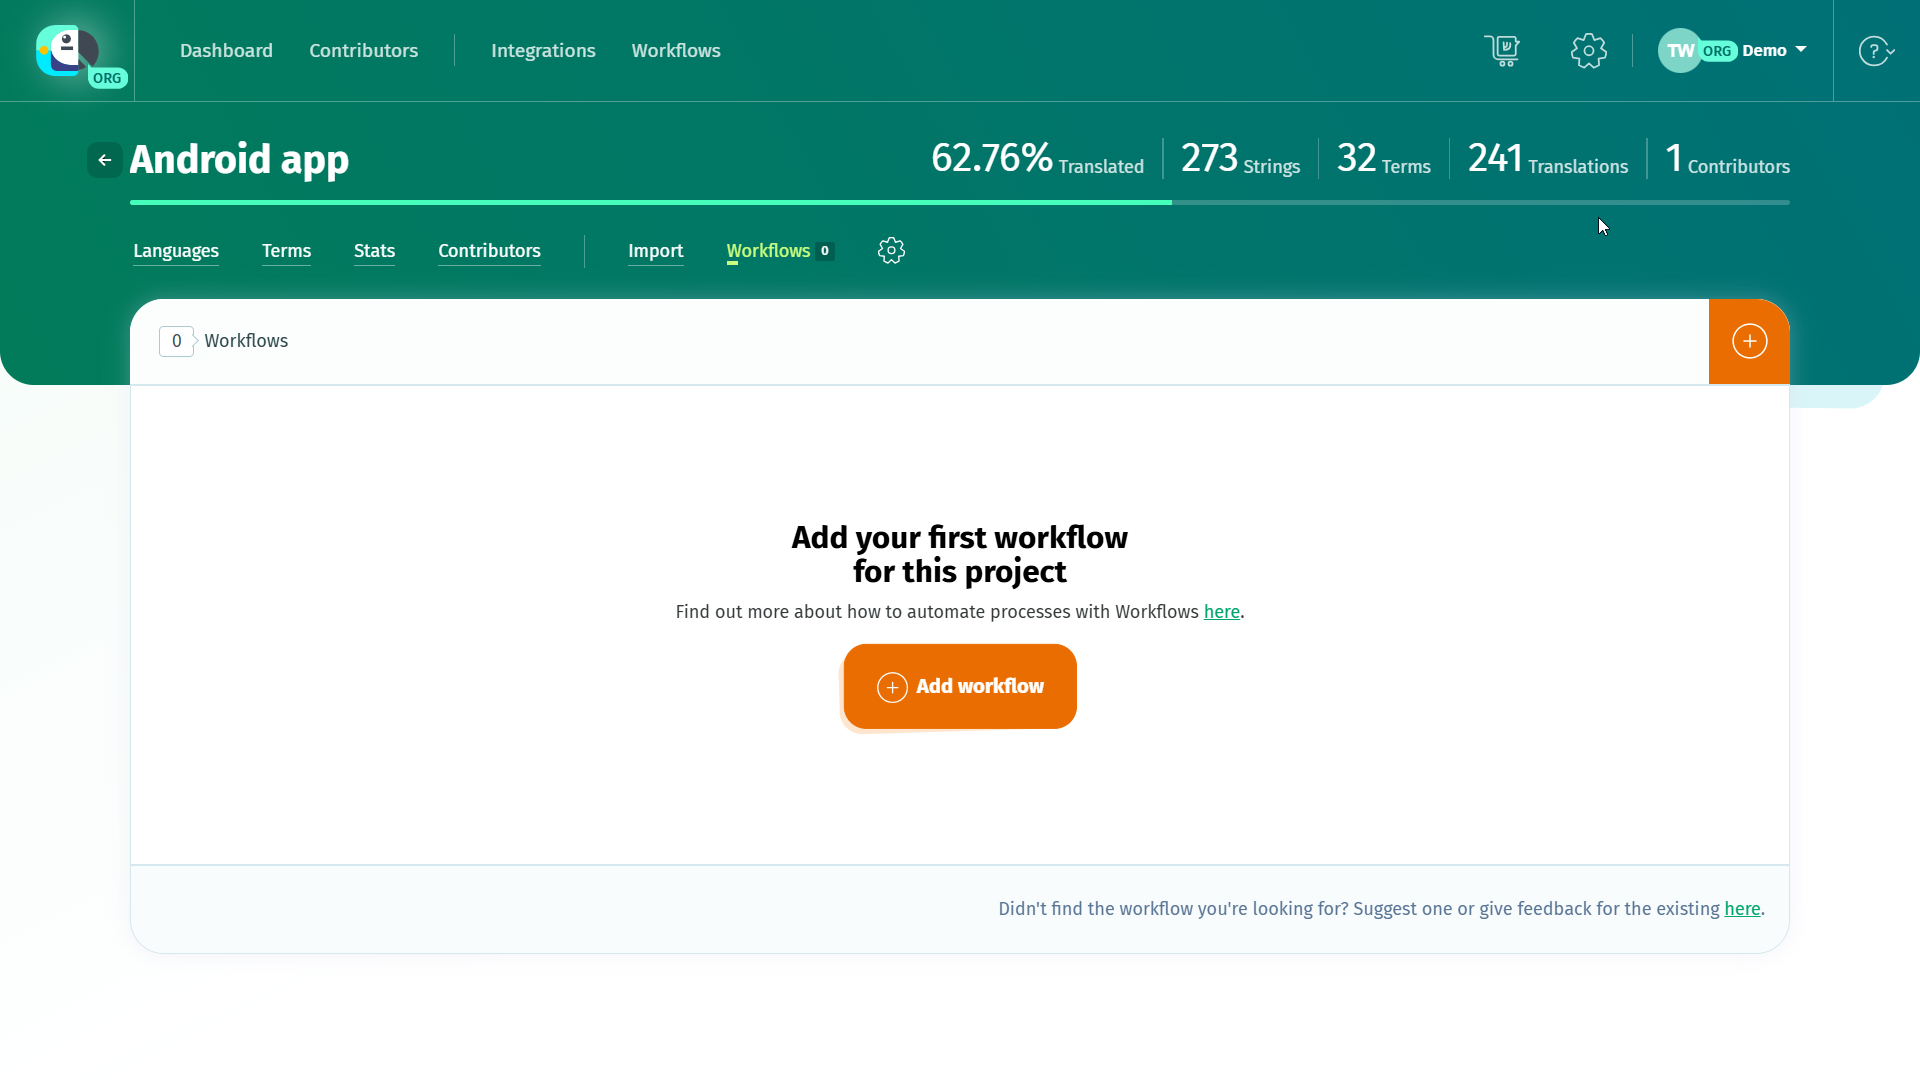
You can add a workflow to a localization project from Workflows > Add workflow.
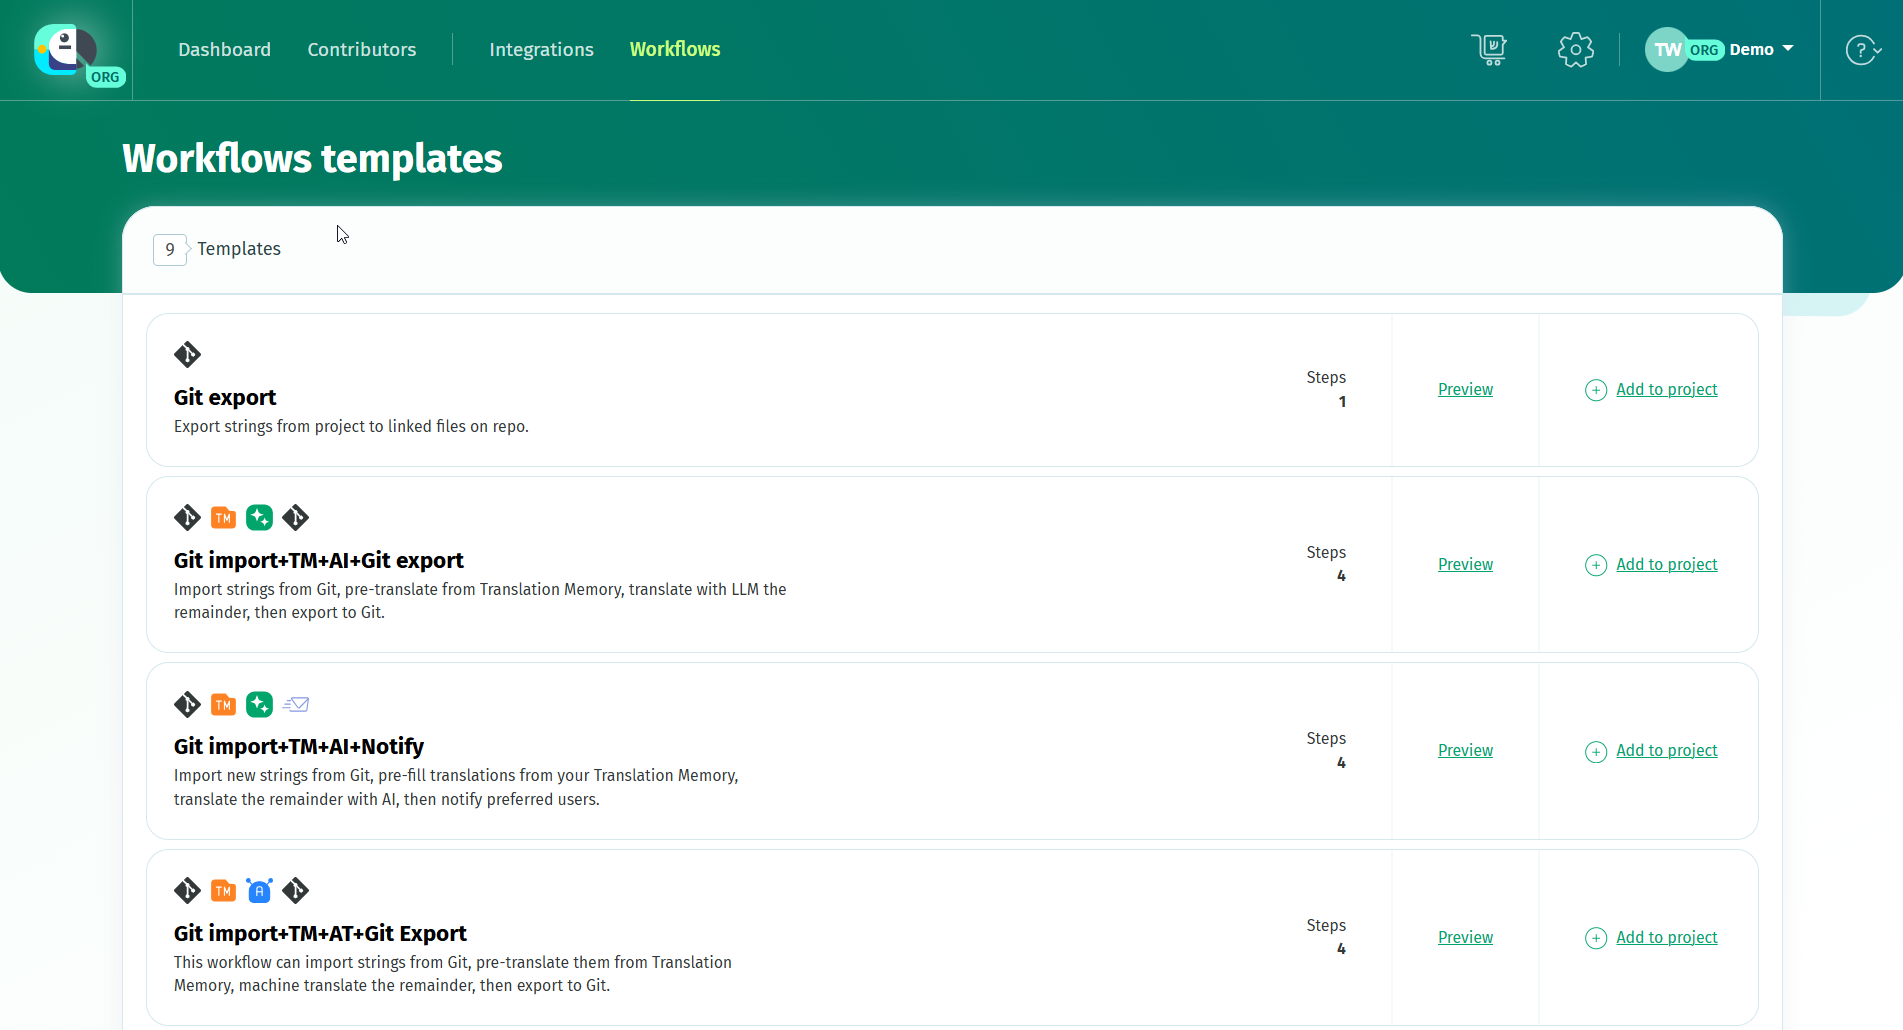
You can also access the Workflows section in the navbar and add a workflow to a project from the Templates tab.
All the workflows you have access to that were set up will be listed in the Workflows tab.
Localization workflow triggers
The triggers you will encounter are:
- New terms: the workflow is triggered whenever at least one new term is added to the project
- Language complete: the workflow is triggered when a language is 100% translated. You can use a specific language for this trigger or it can trigger when any language is completed.
- Language proofread: the workflow steps are triggered when a language - any or a specific one - reaches 100% proofread rate.
- Language added: the steps in the workflow get triggered when a new language is added to the localization project
- Reference language updated: the workflow is triggered when the Default Reference Language is updated (new translations are added and/or existing ones are updated).
- Scheduled: the workflow runs daily or weekly, as per your choice
- Manual: the workflow runs only when triggered from the user interface.
Localization workflow steps
The steps you will encounter are:
- TM: fills empty translation boxes with exact matches from your Translation Memory.
You can translate languages inherited from the previous step (for example, if you choose the trigger Language added, this language only will be translated), opt for a custom selection of languages, translate all the languages or skip the step altogether by choosing None. - AT: fills empty translations with machine translated texts from one of the integrated machine translation providers.
- AI: fills empty translation boxes with texts generated by the LLM connected on by the account or organization hosting the project. You'll need to choose the source language for the AI provider (I want to translate from), the source texts in your project (Using the texts in) and the target languages for the AI provider (Inherited from the previous step, Custom selection or All). In Give more details you can customise your prompt to better suit your needs, and in Advanced options you can choose to send only source strings that are marked with a certain tag.
- Git import: imports strings to the localization project from the files linked from your repo.
- Git export: export strings from project to linked files on repo.
- Notify: Sends a custom email to the specified users, by role. If you want to skip this step, you can choose the option Nobody.
Some steps in these templates can be skipped by selecting the option None (or similar).
Localization workflow templates
The following workflow templates are currently available:
- Notify: This single-step template can be used to notify users with a custom email message.
- TM+Notify: This two-step workflow is recommended for translating new strings with contributors. It can pre-fill empty translations from your Translation Memory, then send a custom email to preferred users.
- TM+AI+Notify: this workflow is recommended to translate new strings with AI and then have them reviewed by contributors. It can pre-fill empty translations from your Translation Memory, translate them with one of the integrated LLMs, then send a custom email to preferred users (filtered by their role in the localization project).
- TM+AT+Notify: this workflow template is recommended to auto-translate new strings and then have them reviewed by contributors. It can pre-fill empty translations from your Translation Memory, machine translate the remainder, then send a custom email to preferred users.
- Git import+TM+AT+Git Export: Import strings from Git, pre-fill translations from Translation Memory, automatically translate the remainder, then notify preferred users.
- Git import+TM+AI+Notify: this workflow can import new strings from Git, pre-fill the empty translation boxes from your Translation Memory, translate the remainder with AI, then notify preferred users.
- Git import+TM+AI+Git export: this workflow can import strings from Git, pre-fill empty translation boxes from your Translation Memory, AI translate the remainder using one of the integrated LLMs, then export to Git.
- Git import+TM+AT+Notify: this workflow template can import strings from Git, pre-fill translations from your Translation Memory, automatically translate the remainder, then notify preferred users.
- Git import+Notify: this workflow template can import strings from Git and then notify preferred users.
- Git export: this single-step template exports strings from project to linked files on repo. It can be combined with workflows that end with a step which asks for manual tasks.
You can combine these templates according to your needs to cover your localization use case.
Good to know
- The trigger you choose for a workflow can vary according to your filetype. If you're working with .po files or other formats that have source strings imported as terms to POEditor, you can use the trigger New terms to launch the translation of new source strings. For files like JSON or Android XML, where your terms are labels, you'll want to choose a trigger like Reference language updated.
- To edit a workflow, you need to disable it first.
- Git settings are inherited for each link
- Empty commits are not made, regardless of your Git integration settings
- To trigger workflows from your repos, you can create webhooks for your workflows. For this, go to the project page, click on Workflows, then on the workflow name, and then on Create webhooks.
- If a workflow fails multiple times consecutively, it is automatically deactivated. The project owner is notified by email when this happens.
- Logs are available in Account/Organization Settings > Workflows Log and can be filtered by project and template. The logs are kept for 30 days and the time expressed is UTC.