To localize an Angular app with XMB and XTB files, import the source messages from your .xmb file into POEditor, translate them and export each language as an .xtb file, the format Angular reads for translations. Here's how to set it up.
1. Create a localization project
Login to your account, create a new localization project and add your software's default language to it.
2. Import the Angluar .xmb file
In the project page, use Import to add the strings from your .xmb file. Choose Also import translations to a language and select the source language.
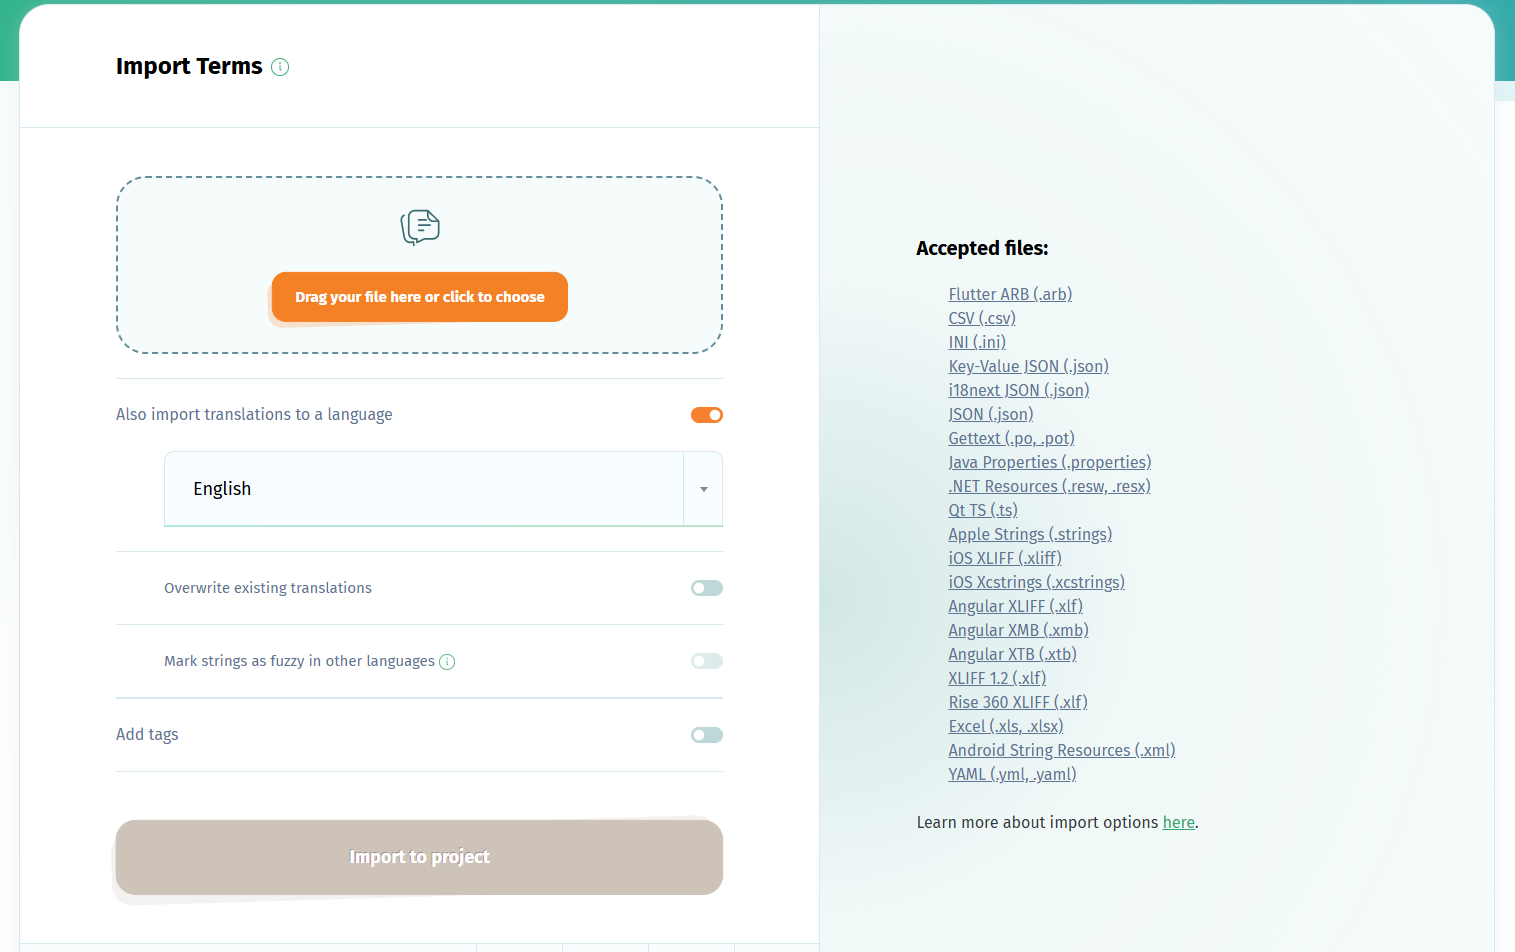
This language will automatically be suggested as your project's Default Reference Language after you import the translations. You can change the DRL in the project's Settings.
3. Translate your Angular app strings
Add the languages you need, then translate them with AI, machine translation, your own contributors or human translators. See all translation options.
4. Export .xtb files
You can export each language as an .xtb file clicking on Export in its corresponding translation page, at any point during the localization process.
To automate the import/export process,use the POEditor API or one of the integrations with Git hosting platforms.
Any strings in your localization project which are in an invalid XML format will not be exported. This is to avoid any issues when using the file in your application.