You can easily localize software strings using Excel .xls and .xlsx files with POEditor. Here is how to make a basic setup for your localization project using Excel files.
1. Create translation project
Log in to your account, create a new translation project and add the source language to it.
2. Import strings from Excel file
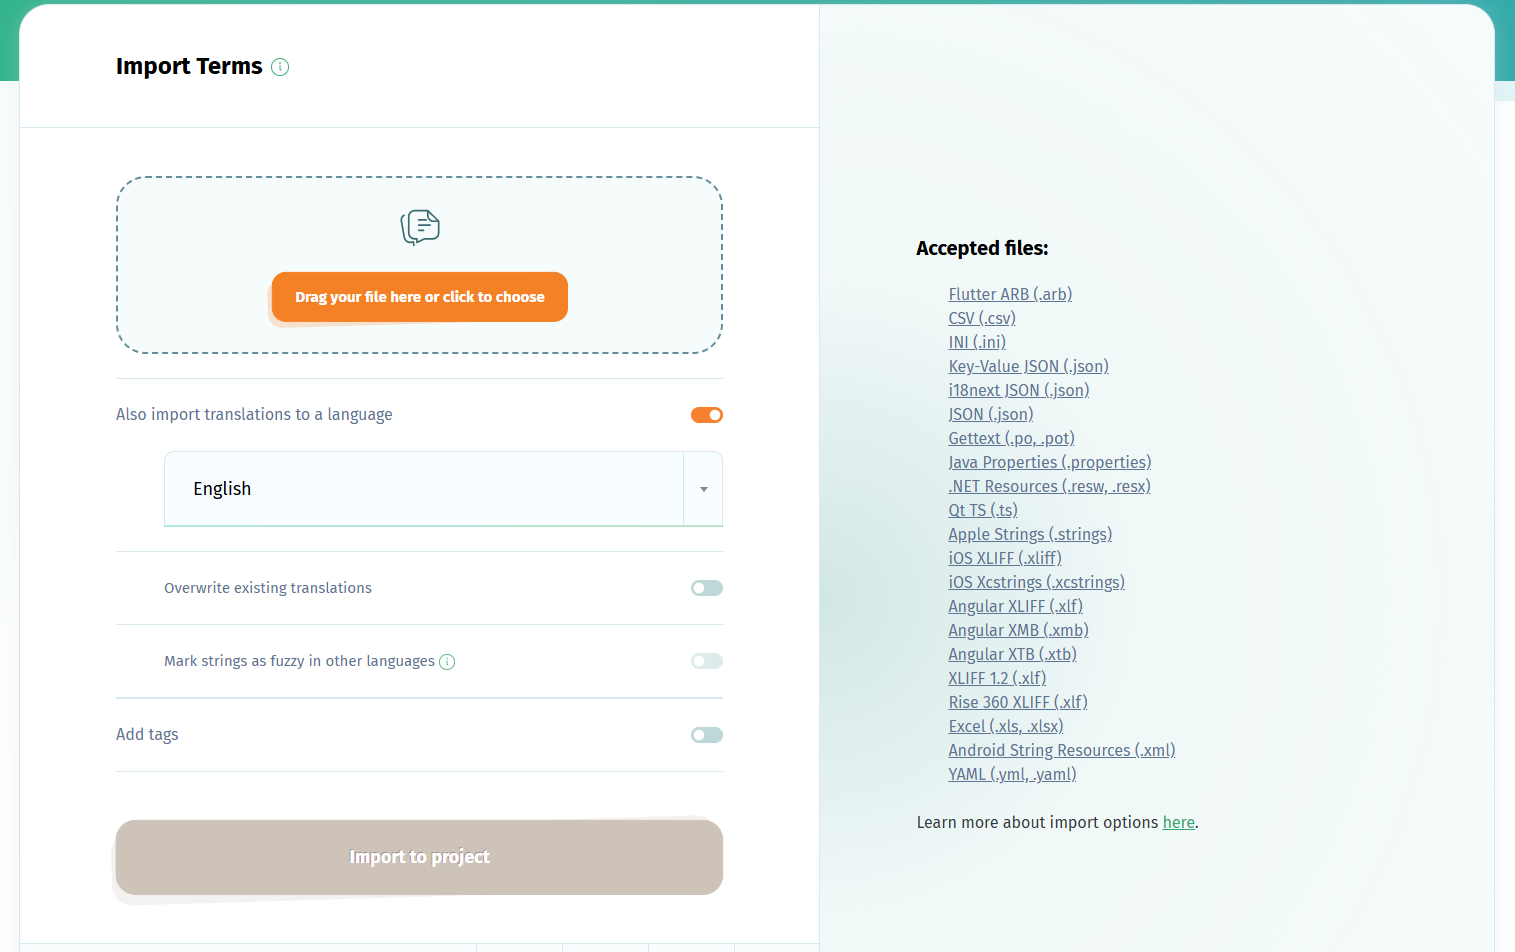
Use import button in the project page to import your .xls or .xlsx file (you can import both the terms and the translations).
POEditor expects the data in the file's columns to be in the following order: term, translation, context, reference, comment. The only mandatory column is column A, with terms.
If you have string IDs (labels/keys) in the first column, these will be imported to the project as terms. In this case, you'll need to have the source strings in column B and import them as translations to the source language in the project. To see the source strings in the target languages in POEditor, set this language as Default Reference Language in the project's settings.
3. Localize strings to target languages
Add your desired languages for translation, invite your contributors to join and start localizing your Excel worksheets. There are also other translation options you can choose from.
You can export the target languages to any of the supported file formats at any time using the Export option in the translation pages.
If you want to automate the import/export steps of the localization process, consider using the POEditor API or one of the integrations with code hosting platforms.
