You can connect your POEditor account with an Azure Repos account to more easily manage the localization of language files hosted on this code hosting service.
Note that the localization project needs to be hosted on your POEditor account in order for you to be able to links the files on Azure Repos to the project languages. However, after these links are made, you can also allow the localization project admins to import/export strings using the integration.
How to connect POEditor to Azure Repos
Go to Account Settings in POEditor and access the Integrations tab.
Click on Azure Repos and then click the Connect button. Log in to your Azure Repos account (if you aren't) and authorize the POEditor localization app.
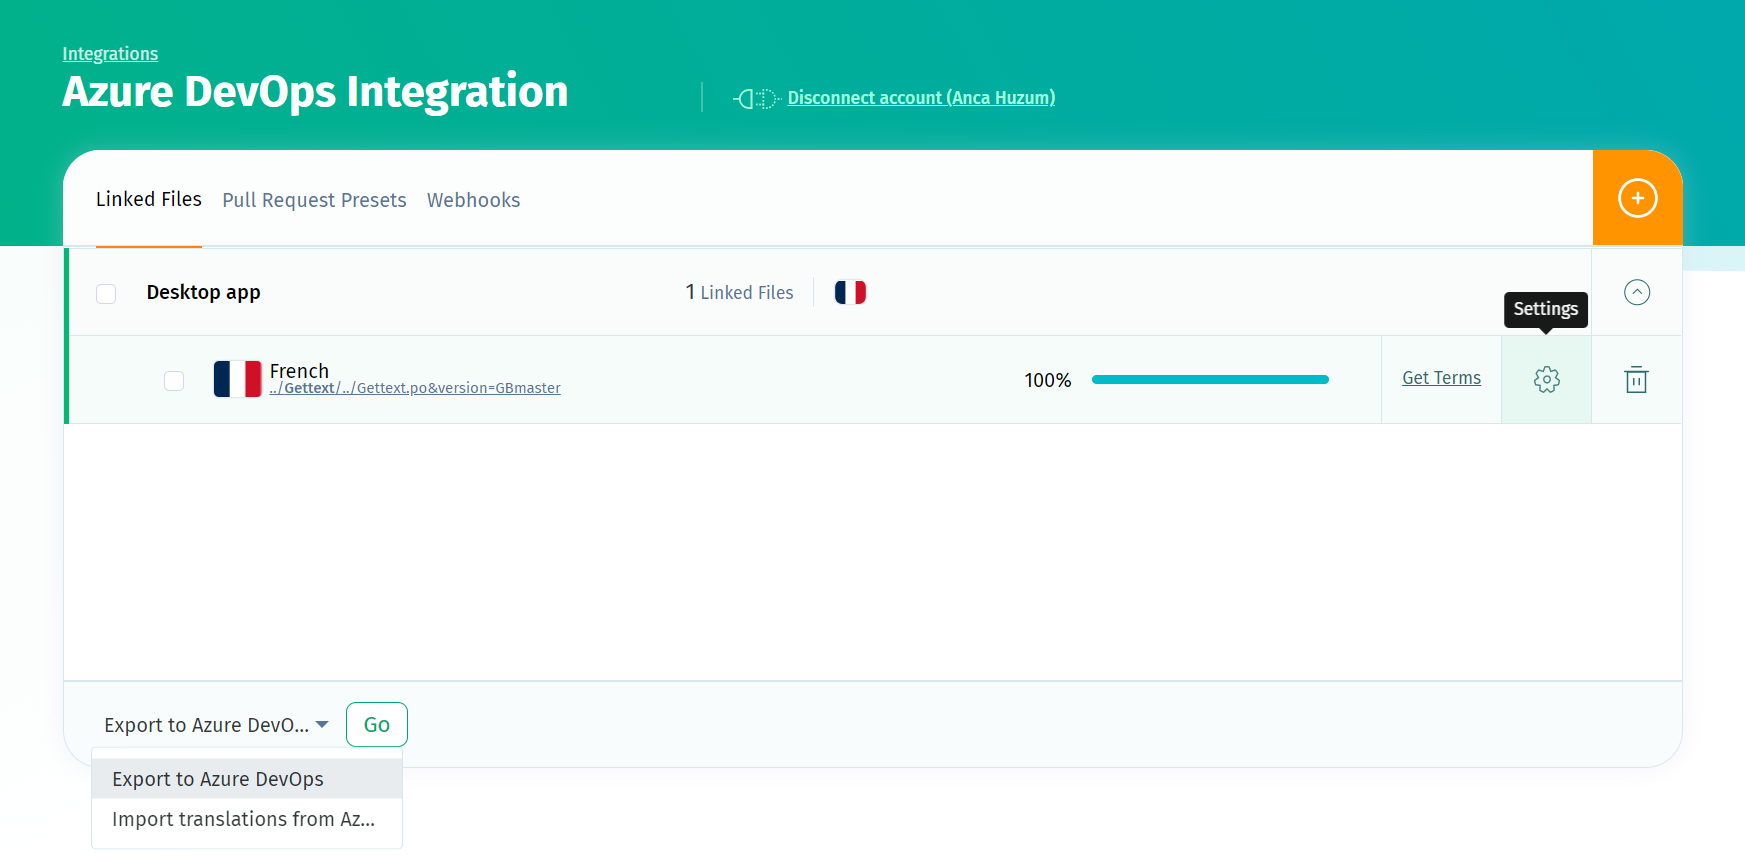
In the Azure Repos integration page, select a POEditor project and the language you want to link, then press Link to a Azure Repos file. Then choose a repository, branch and file and link them together.
How to connect POEditor to Azure Repos Server
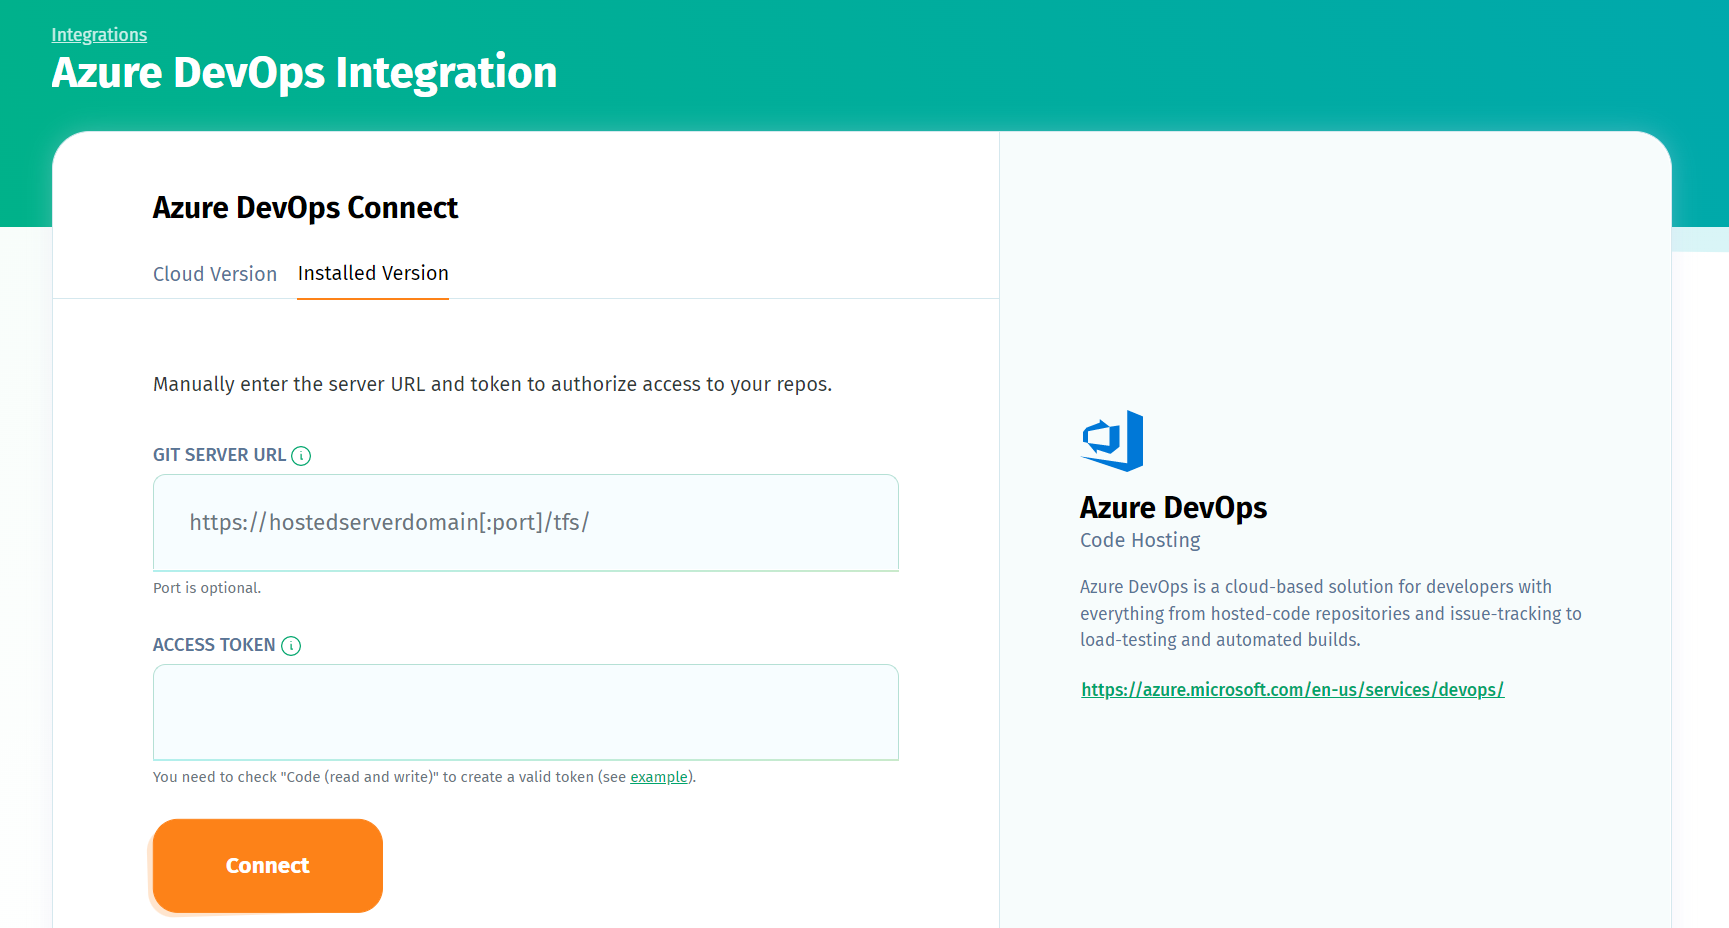
If you have Azure Repos installed on your server, you'll need to manually enter the server URL and token. Fill in the form in the Azure Repos Integration page with the Git Server URL (the URL of the API endpoint of your installed DevOps version) and the Access Token (you can generate one in your Azure Repos Server account in User Settings > Security > Personal Access Tokens; make sure to check 'Code (read and write)' to create a valid token) and press Connect.
Managing translations and syncing the language files
Linked language files have non-automated features on the Azure Repos integration page:
Import terms - Uploads your terms from the file to the selected POEditor language.
Import terms and translations - Uploads your terms and the corresponding translations from the file to the selected POEditor language.
Import translations - Adds translations from your file to the language in your POEditor project. Note that you can import translations only after having imported terms.
Export to Azure - Exports your terms and translations from the linked language to the file selected by you in the linking stage.
Add import rule - Adds a rule by which to tag strings on import.
Add export rule - Adds a rule by which to export strings.
Remove link - Deletes the link between the POEditor language and the Azure Repos repo.
You can use the Import from and Export to options at the bottom of the page to perform bulk actions for multiple languages at a time.
You can automatically sync the terms whenever you make changes in your repos with Azure Repos webhooks. Here's some info about using webhooks with POEditor.
How to give access to the Azure Repos integration to localization project admins
After you, as the project owner, set up the links between the files on Azure Repos and the languages in the l10n project, you can give admins access to the integration from the project's settings, by enabling the option Admins Can Access Integrations.


