To easily manage the translation of a Drupal site, download the source strings in PO or POT format from your Drupal instance and bring them to the localization management platform POEditor. Here, you can manage the string translation process in multiple ways, into any language.
Find below the steps you need to take to quickly set up your Drupal translation project.
Set up your Drupal translation project
If you don’t have a POEditor account, take a second to register one. You’ll be able to manage for free up to 1000 Drupal interface strings.
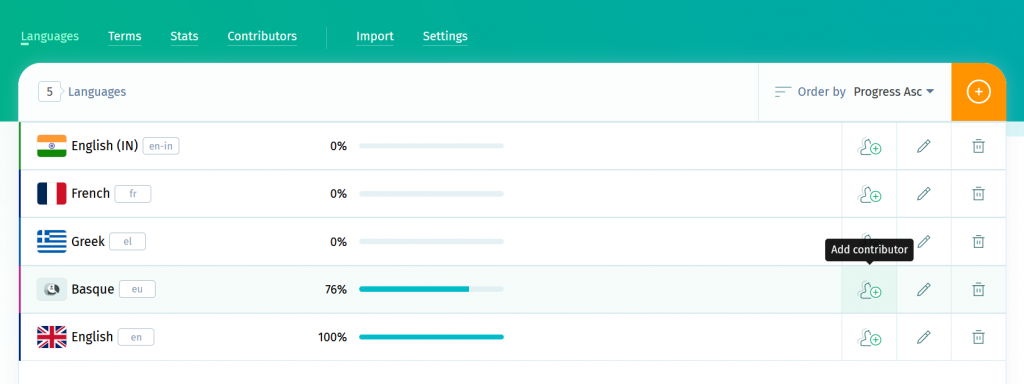
Once you’re logged in, create a project in your Dashboard and add the languages you’ll be working with. You’ll want to add your Drupal site’s default language and the target languages (the languages you want to translate your Drupal site into).
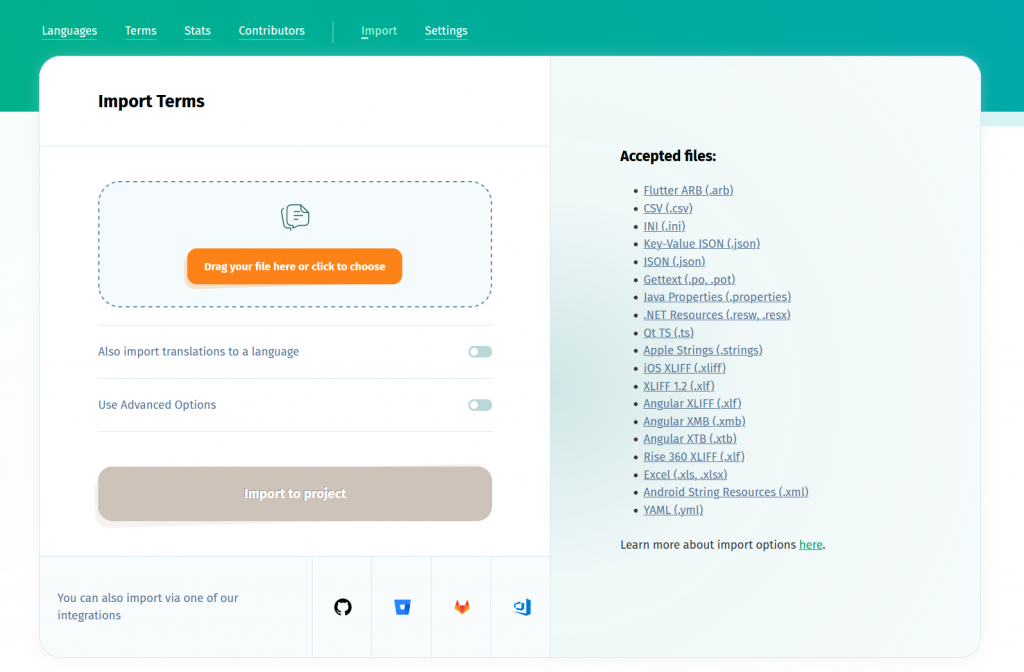
After adding the languages to the translation project, import your Drupal source strings to POEditor using the import functionality in the project page. You can import them either from .pot or from .po.

POEditor fully supports Gettext PO and POT files, so after importing the file with the source strings, all the term attributes (such as context, comments and plurals) should be reflected in the translation project.
PRO TIP: To automate the import process, you can use the API or an integration with a code hosting platform. POEditor is currently integrated with GitHub, Bitbucket, GitLab and Azure Repos.
Choose how you want to translate the Drupal interface strings
After setting up the Drupal translation project, you can begin the string translation process. The translation options you can choose from are:
- Assigning translators to specific languages in your translation project, by adding them as contributors. These people will be able to use POEditor’s online editor to add translations to your project.

- Crowdsourcing translations from your community for specific languages, using public projects. You can also allow others to add new languages to your public translation project. Just enable the option Contributors Can Add New Languages in the project’s settings.
- Using the Automatic Translation feature. This works with the machine translation engine of your choice, from the options available. MT options include DeepL Translate, Google Translate and Azure AI Translator.
- Ordering translation services from one of our partner language service providers*.
You can of course mix these translation options to your convenience to achieve your Drupal site localization. Note that if you have a paid account, you and your contributors can also reuse translations from the Translation Memory.
*To order human translation services from the integrated providers, you’ll need to add your source strings as translations in your source language. If you imported your source strings from .pot and your source language is at 0% completion rate in the project, to take it to 100% you can use the Copy Terms to Translation feature in the upper right corner of the source language page. This will copy the source strings from the terms to the translation boxes of the source language.
Export the translated PO files and add them to your Drupal site
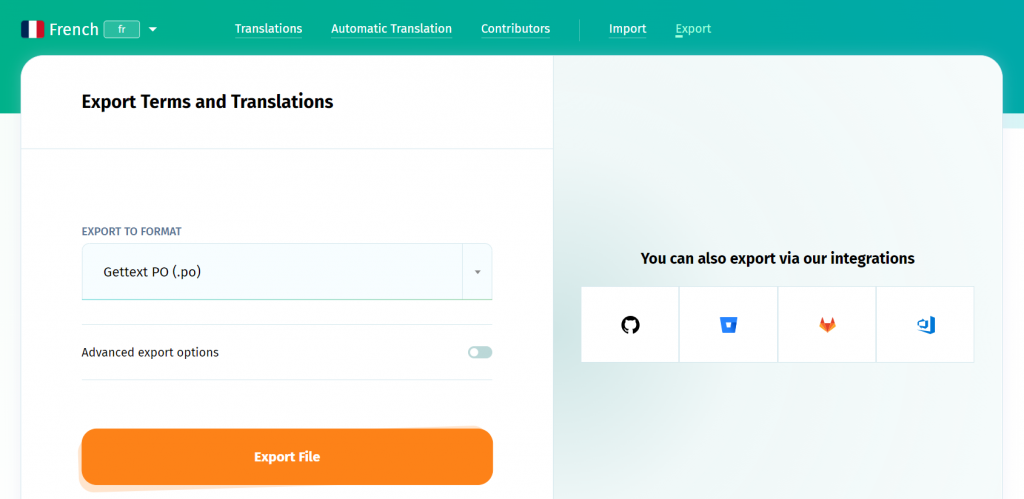
Anytime during the string translation process, you can export the localized languages from POEditor and import them to your Drupal site. To export a language, access its translation page in the project, then use the Export functionality to download it in PO format to your computer. Note that exporting to the POT format is not a good idea, because POT files only contain the msgids and not the translations too.

With the API or with a code hosting service integration, you can also export all the localized languages at once. In case a translation is not specified in a particular language, your Drupal site will use the source text instead.
Resources: